A CHRISTMAS DIY: DRIED ORANGES
We’re just at the tail end of a second lockdown here in London, but things are thankfully still feeling festive as we head into a very different kind of Christmas season. November and December are normally full of travel for us -- visiting Christmas Markets in the UK and Europe is something we look forward to all year -- but 2020 has other ideas this time around! And with so much time spent indoors (and so much time on our hands during lockdown) we are keen to make our home as cheerful and cosy as possible, which was what inspired our latest foray into DIY.
There’s just something wonderfully Dickensian and nostalgic about dried oranges as Christmas decorations. Plus they’re sustainable, inexpensive and reusable, not to mention that they smell great! And if like us you are working from home a the moment, then this is such easy idea to try - just slice up the oranges in the morning and leave the oven to warm the flat while you work. Here’s a quick rundown of what to do:
What You Need
Oranges (We used 8, which filled two trays)
Oven racks
Baking paper
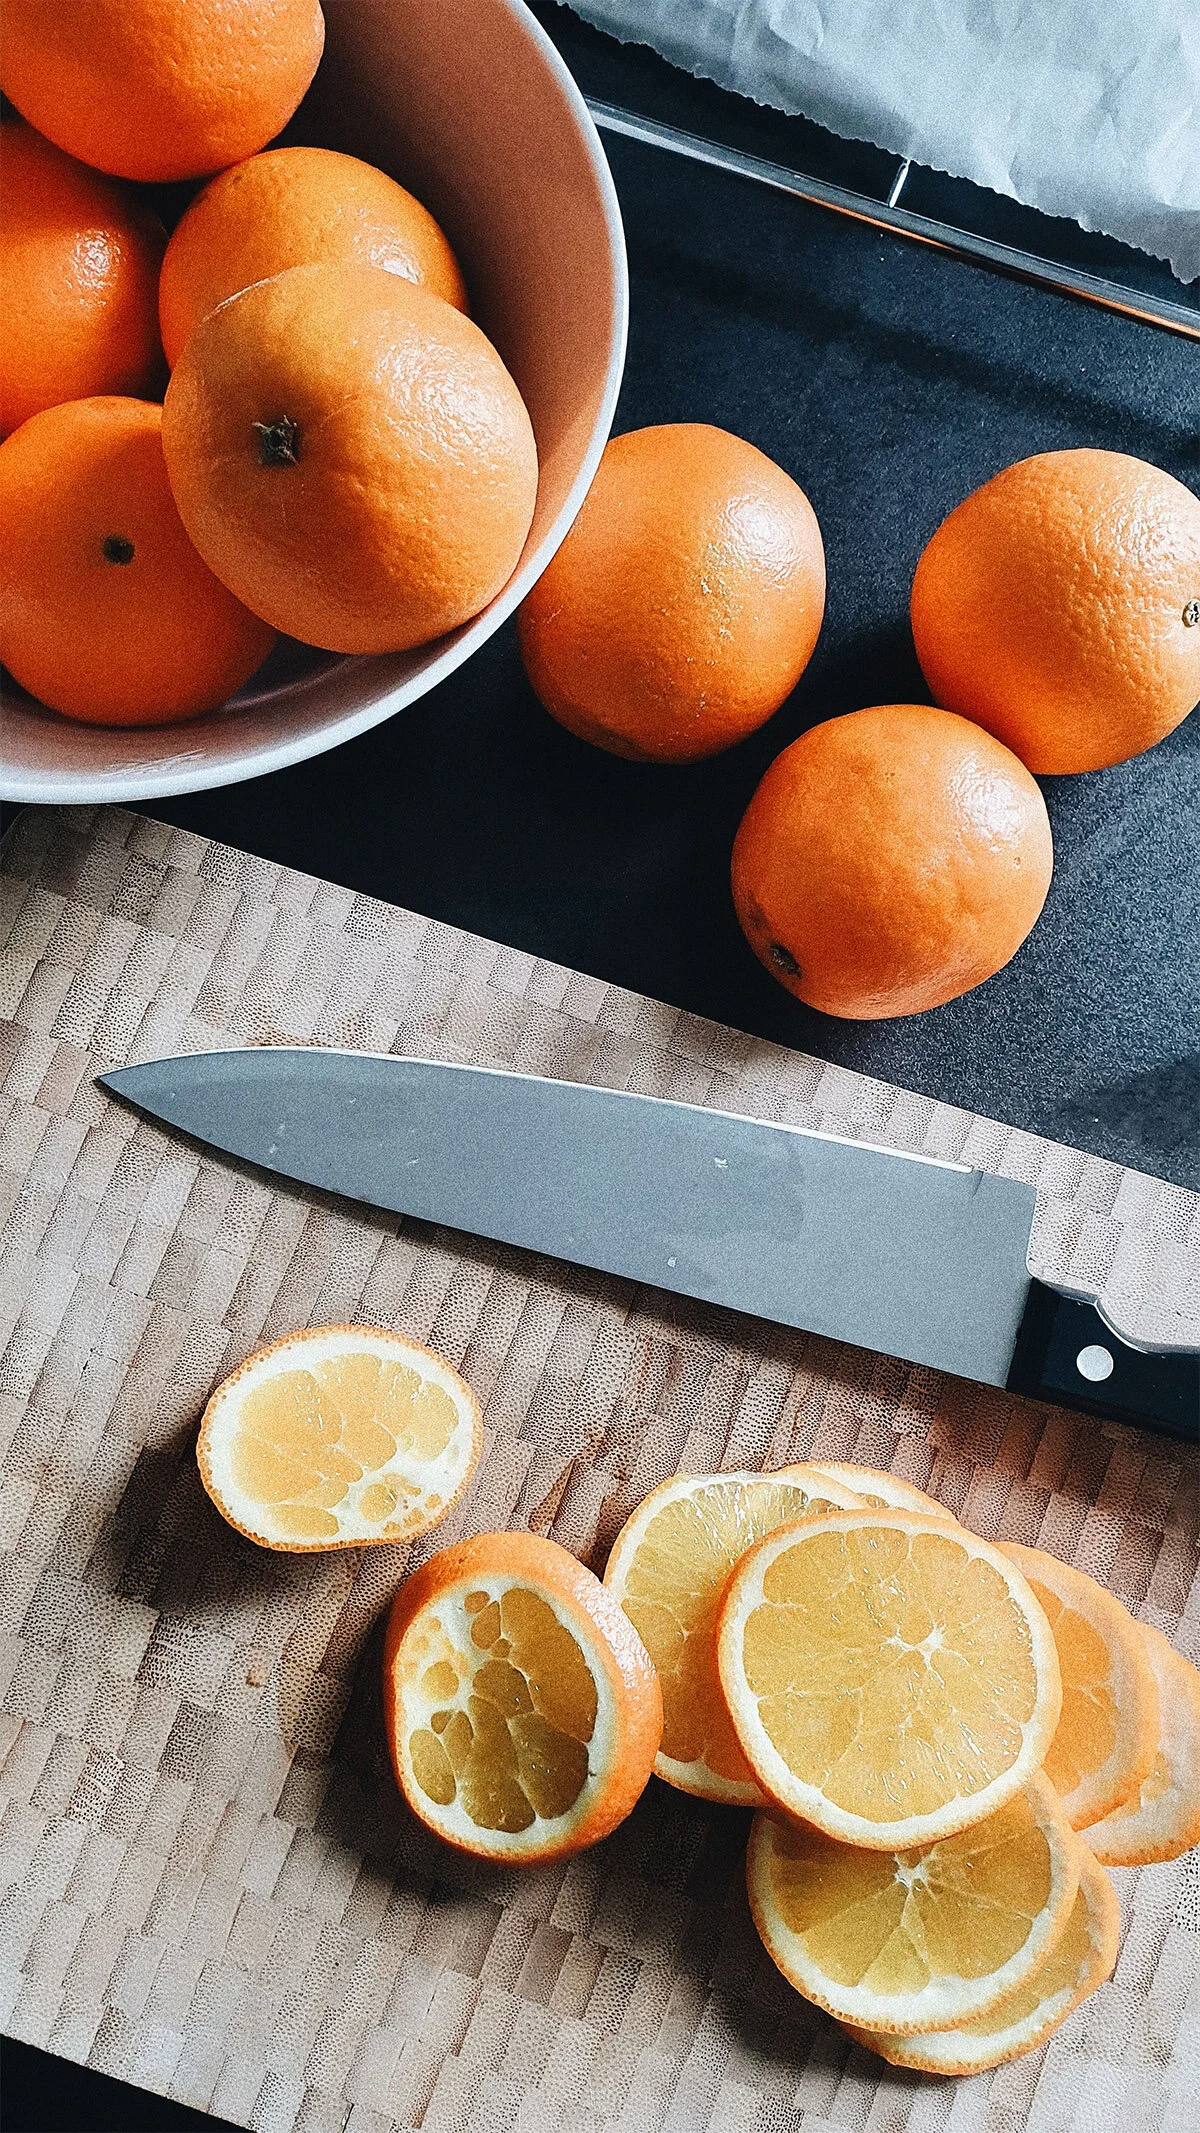
Sharp knife
Chopping board
Paper towel/ tea towel
Oven
What To Do
Clear your oven of all other trays or racks and set to the lowest setting. 80°C-100°C is ideal.
Line your oven racks with baking paper. This makes for a quick clean up and protects the metal against the acidity of the fruit (racks work better than trays as they allow the air to circulate all around the oranges).
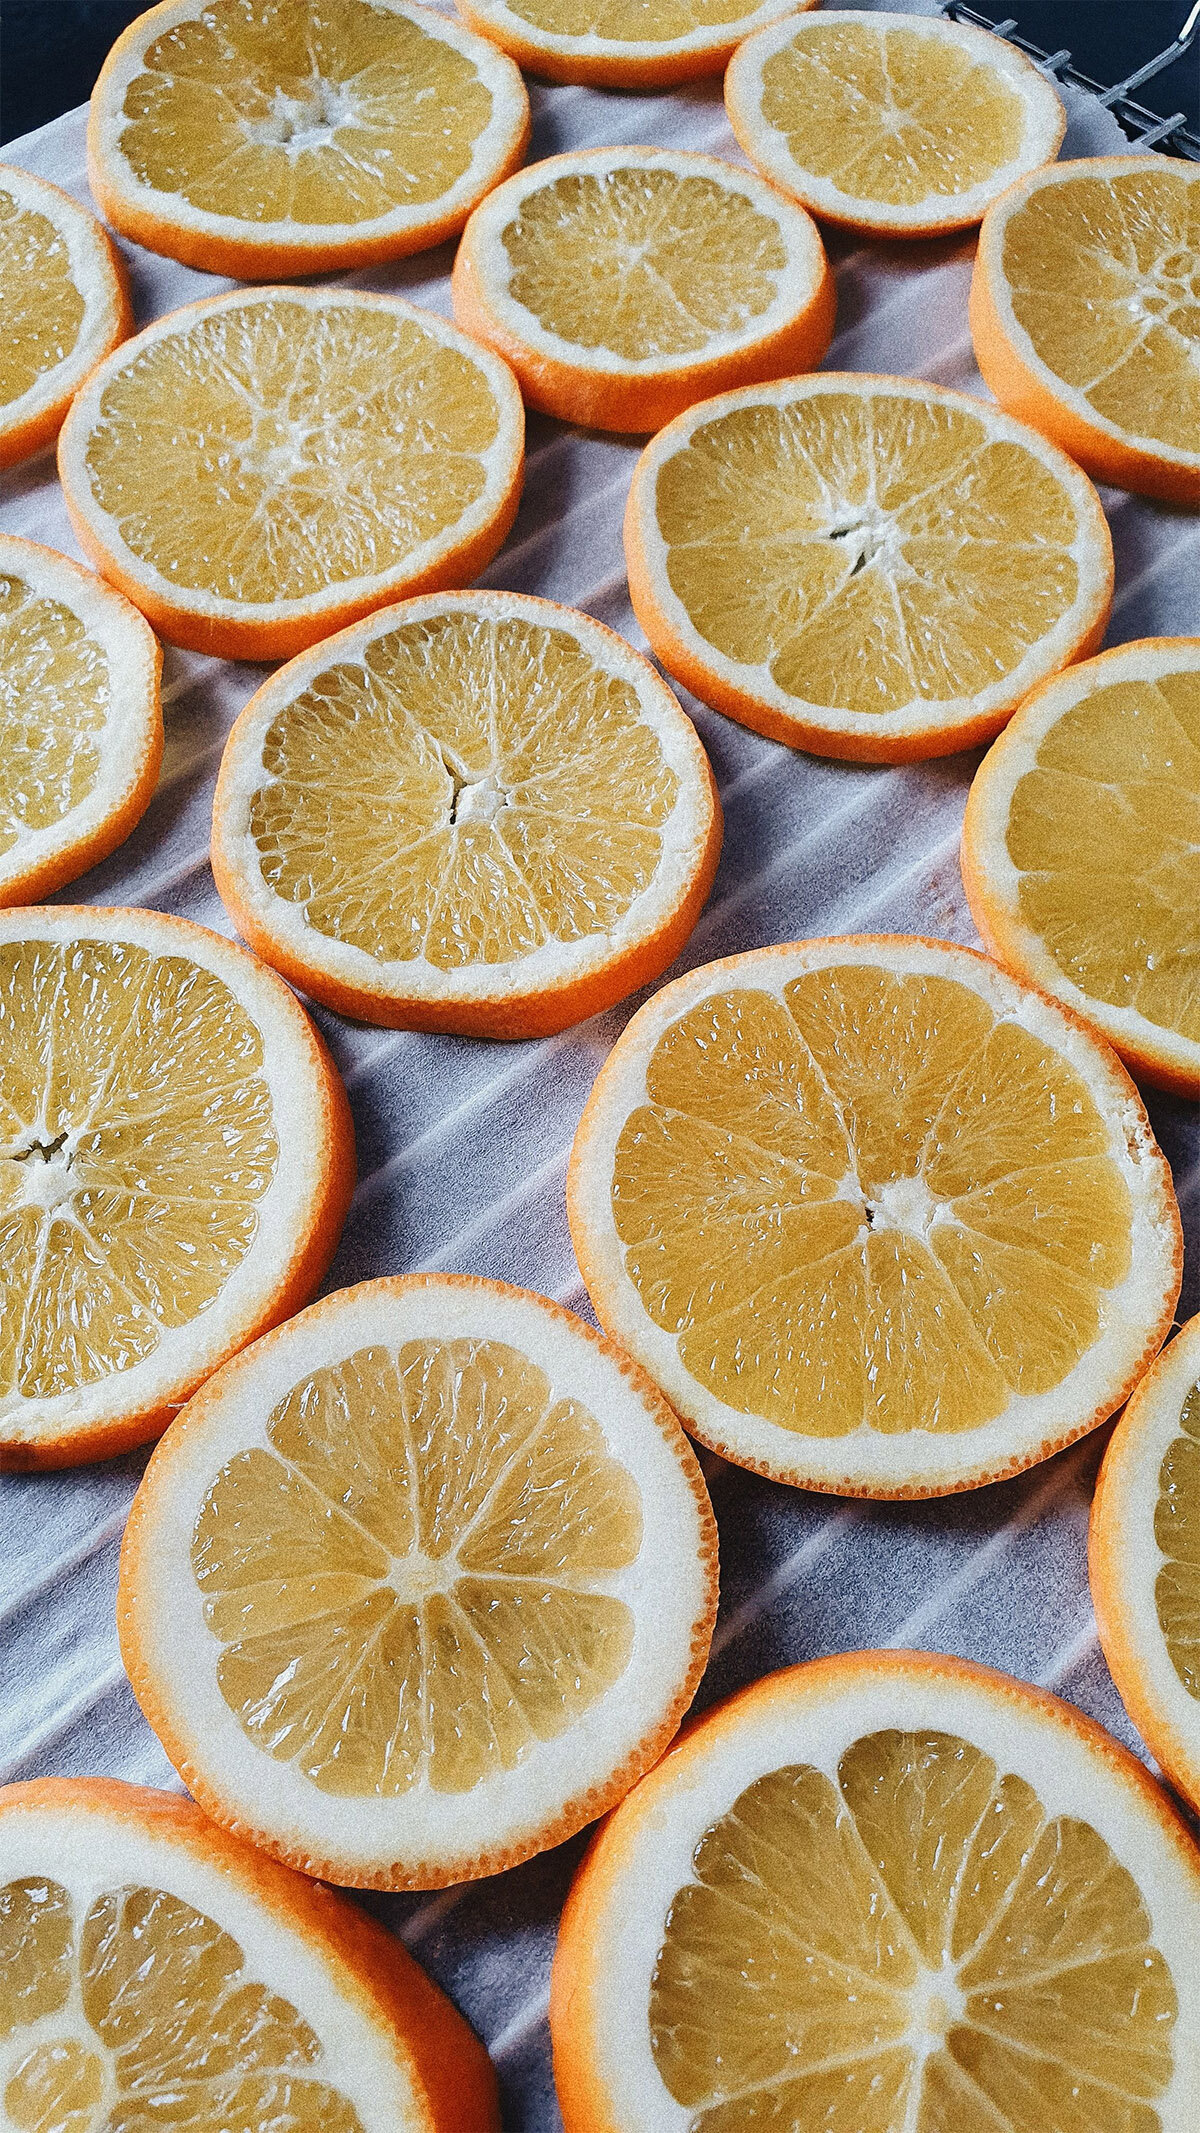
Using a sharp knife, evenly slice the oranges at about 5mm-10mm thickness.
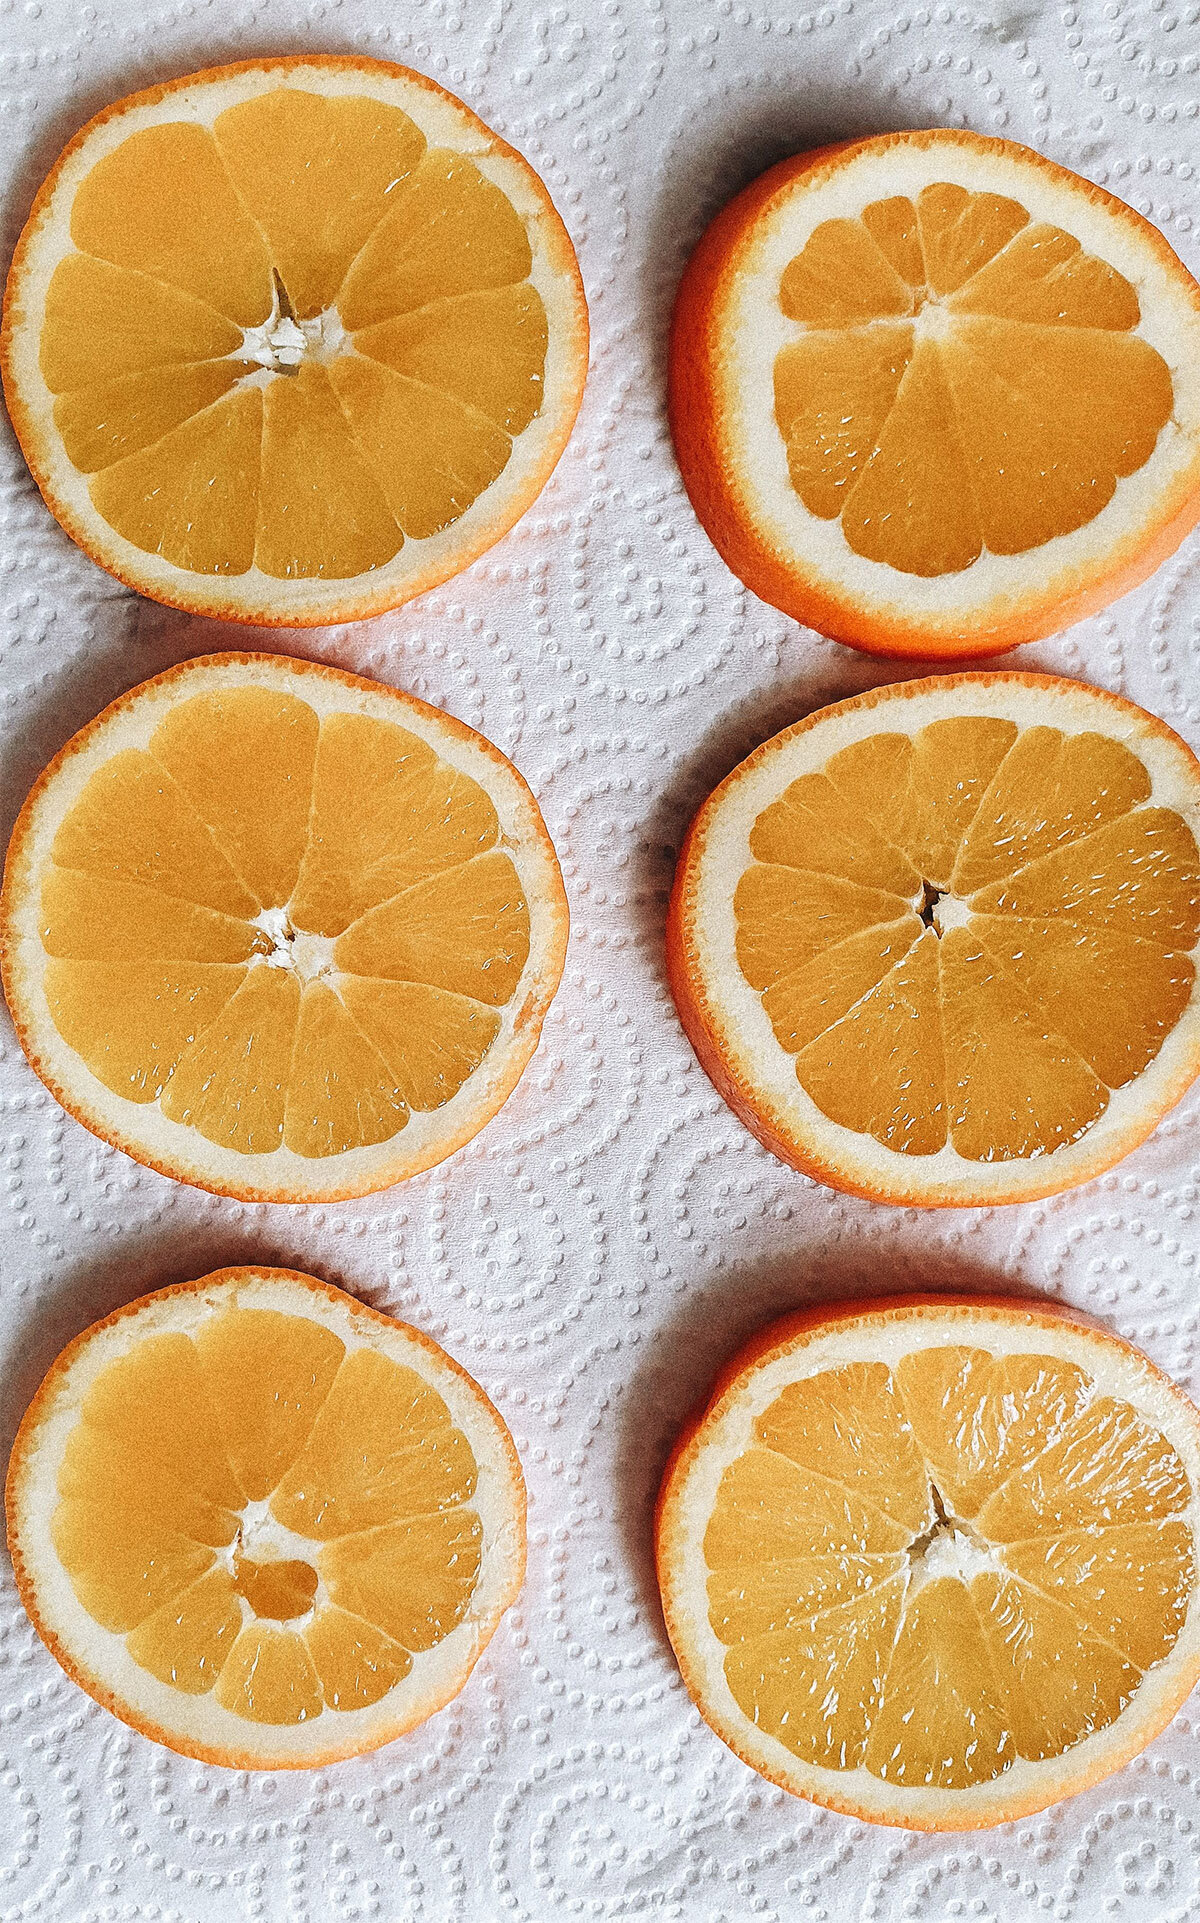
Use paper towel or a tea towel to blot excess juice from the orange slices. This will help them dry more quickly.
Arrange the slices in a single layer on your oven racks and place into the oven leaving space between the shelves.
Set a timer for 90minutes so that you can flip the slices over to help them dry evenly. Repeat this every 90 minutes until they are dried - ours were in for 5hours total
Check on the slices more frequently towards the end to ensure they aren’t browning too much
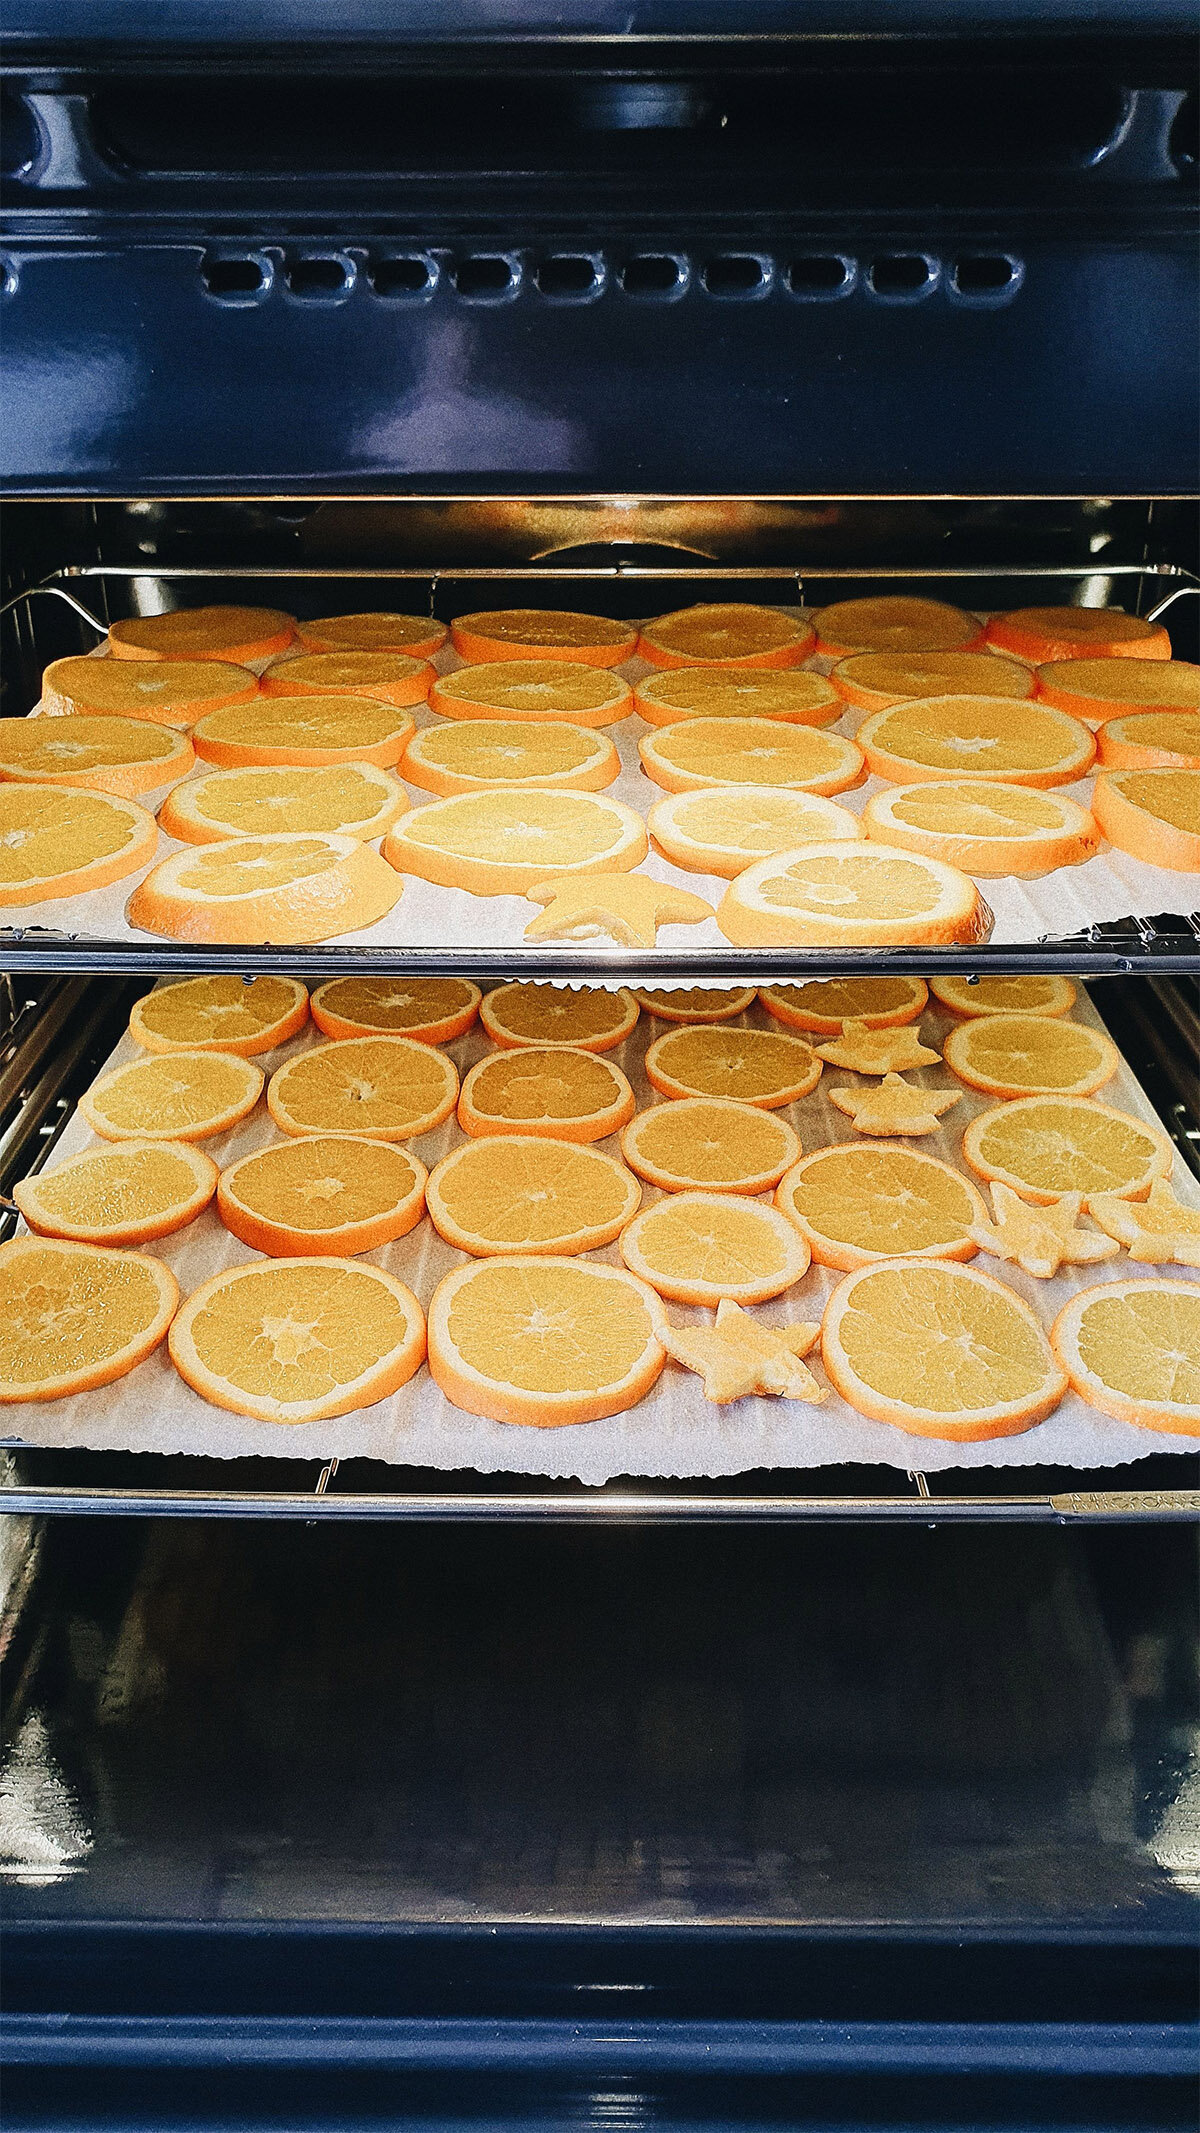

You could cut shapes from the orange peel
The oranges after 1.5 hours
Tips
Use a needle and thread or florist wire to create loops to hang from your tree, or string them together to create a garland
We found 5mm slices worked best. Any thinner and the slices curled, any thicker and they took much longer to dry
We baked our oranges for 5 hours total, turning at 1.5hrs and 3hrs. We ended up removing some of the smaller slices at 4hours
To ensure the slices are completely dry leave them out overnight by the radiator before turning them into a garland or ‘baubles’/
You could also swap the oranges for limes, lemons, apples or blood oranges
If you don’t have 5 hours, you could try turning the oven up to 150C for 3 hours (turning halfway). If the slices start to brown before they are completely dry, just remove from the oven and let them dry near the radiator for a day or two.
There’s a special kind of satisfaction in making something yourself and we hope you try making your own dried decorations this year! We feel like this is the start of a tradition for our household.
PS Feel free to tag us on Instagram (@theseptemberchronicles) so we can see your results.
Merry Christmas,
Simon and Jen
PIN IT FOR LATER
